To clean a graphics card PCB, gently remove dust with compressed air and use isopropyl alcohol to clean any stubborn dirt or residue. Now, let’s dive into how you can effectively clean your graphics card PCB to ensure its optimal performance and longevity.
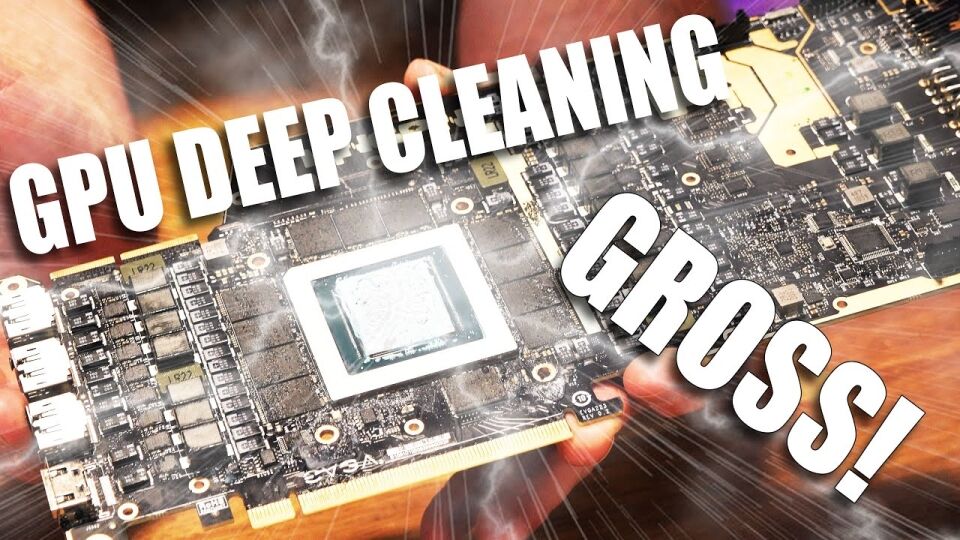
Maintaining proper cleanliness of computer components is essential for their smooth functioning. The graphics card, a critical component in many computers, requires regular cleaning, especially its PCB (Printed Circuit Board). Over time, dust and dirt can accumulate on the PCB, affecting its performance and causing overheating issues.
To clean the PCB, use a can of compressed air to blow away loose dust particles, ensuring not to touch any components. For any stubborn dirt or residue, dampen a lint-free cloth or cotton swab with isopropyl alcohol and gently wipe the affected areas. Regularly cleaning the graphics card PCB will help maintain its efficiency and extend its lifespan.
Credit: m.youtube.com
Frequently Asked Questions Of How To Clean Graphics Card PCB
What Can I Use To Clean My Graphics Card?
To clean your graphics card, use compressed air or a soft brush to remove dust and debris.
Can You Use 70 Isopropyl Alcohol To Clean GPU?
Yes, you can use 70 isopropyl alcohol to clean your GPU effectively.
Can I Soak A GPU In Isopropyl Alcohol?
No, soaking a GPU in isopropyl alcohol is not recommended. It can damage the components.
How Do I Clean My Graphics Card Connector?
To clean your graphics card connector, follow these steps: Turn off your computer and unplug the power cord. Gently remove the graphics card from its slot. Use compressed air or a soft brush to remove dust or debris from the connector. If necessary, use isopropyl alcohol and a cotton swab to clean the connector pins. Allow the connector to dry completely before reinserting the graphics card and powering on your computer.
Conclusion
To ensure your graphics card operates at its best, regular cleaning of the PCB is essential. By following the steps outlined in this guide, you can remove dust, dirt, and debris that can hinder performance. Start by carefully removing the graphics card and observing safety precautions.
Use a can of compressed air to blow away loose particles, taking care not to damage any delicate components. Next, use a clean, soft brush to gently sweep away any remaining debris. If there are stubborn stains or residue, a cotton swab dipped in isopropyl alcohol can be used.
Remember to let the PCB dry completely before reassembling the graphics card. Regularly cleaning your graphics card PCB will optimize its performance and extend its lifespan. So, get started today and enjoy smooth and reliable gaming experiences!


As an Amazon Associate, Cleanestor earns from qualifying purchases at no additional cost to you.
