To clean the leather soles of shoes, follow these steps: Use a soft brush or cloth to remove dirt and dust. Then, apply a small amount of leather cleaner and gently scrub the soles.
Understanding The Importance Of Proper Leather Sole Care
Properly caring for your leather soles is essential to ensure that your shoes remain durable and in excellent condition for years to come. Leather soles are not just a stylish choice; they also provide great flexibility and breathability. However, they require regular cleaning to maintain their quality and longevity.
Why Leather Soles Need Regular Cleaning
Leather soles, as durable as they may be, are constantly exposed to dirt, dust, and various environmental elements. Regular cleaning helps to remove these harmful particles and prevents them from accumulating on the surface. Over time, the accumulation of dirt and debris can cause the soles to become slippery and, consequently, affect your balance and overall comfort.
Moreover, regular cleaning also removes any excess moisture that may have seeped into the leather. Leather naturally absorbs moisture, but excessive moisture can lead to weakened soles and the development of mold or mildew. By cleaning your leather soles regularly, you can maintain their structure and prevent any potential damage caused by moisture.
How Neglecting Leather Sole Care Can Impact Shoe Durability
If you neglect proper leather sole care, the durability of your shoes may be compromised significantly. Leather soles, like any other material, require attention and care to withstand frequent use. When left uncleaned, dirt and debris can settle into the leather, gradually wearing it down and causing premature deterioration. The longer you ignore this essential task, the more likely you are to face costly repairs or even replace your shoes entirely.
Furthermore, neglecting leather sole care can diminish the overall quality and appearance of your shoes. Accumulated dirt can become deeply embedded in the leather, making it more difficult to clean effectively. As a result, your shoes may lose their original shine and texture, leaving them looking worn out and neglected.
By dedicating a little time and effort to regular leather sole cleaning, you can ensure that your shoes not only look great but also last longer.
Gathering The Essential Tools And Materials
Gathering the essential tools and materials is the first step towards cleaning the leather soles of shoes effectively. By having the right supplies on hand, you can ensure that the cleaning process is efficient and safe for your shoes. In this section, we will discuss the necessary cleaning supplies and the importance of using suitable brushes for leather soles.
The Necessary Cleaning Supplies
Before you begin cleaning your leather soles, it is important to gather the necessary supplies. Make sure you have the following items:
- Bowl of warm water
- Mild dish soap or leather cleaner
- Clean white cloth or sponge
- Soft-bristle brush
- Soft, absorbent towels
- Leather conditioner or oil
- If needed, a mild stain remover or vinegar solution
Having these supplies ready will make the cleaning process much easier and ensure that you have everything you need to properly clean your leather soles.
Using Suitable Brushes For Leather Soles
When it comes to cleaning leather soles, using a suitable brush is crucial. Leather soles are delicate and require a gentle touch. Using a brush with hard bristles can cause damage to the leather and leave scratches behind. To protect your leather soles, choose a soft-bristle brush specifically designed for cleaning delicate materials.
When using the brush, make sure to brush gently in circular motions. This will help loosen any dirt or grime that has accumulated on the soles. Avoid applying too much pressure to prevent any harm to the leather surface.
Additionally, it is a good idea to have separate brushes for cleaning and polishing. This will help maintain the cleanliness of your leather soles and ensure that you are using the appropriate tools for each step of the cleaning process.
By gathering the essential tools and materials before cleaning your leather soles and using suitable brushes, you can ensure that your shoes are properly maintained and will last for a long time.
Step 1: Preparing The Shoes For Cleaning
Removing Any Debris And Dirt From The Soles
Before you start cleaning the leather soles of your shoes, it is essential to remove any debris and dirt that may be stuck on them. This step will ensure that you have a clean surface to work with and prevent further damage to the soles.
To remove debris and dirt from the soles:
- Gently tap the shoes together to loosen any loose dirt or debris.
- Use a soft-bristled brush or an old toothbrush to brush away any remaining dirt from the soles.
- If there are stubborn stains or dirt that won’t come off with brushing, you can use a soft cloth or a cotton ball dipped in rubbing alcohol to spot clean the affected areas.
- After spot cleaning, let the shoes air dry for a few minutes to ensure that the alcohol evaporates completely before moving on to the next step.
Using Gentle Soap And Water For Initial Cleaning
Once you have removed all the debris and dirt from the soles, it’s time to give them a thorough cleaning using gentle soap and water. This step will help eliminate any remaining dirt and stains.
To clean the soles with soap and water:
- Fill a small basin or container with lukewarm water.
- Add a small amount of gentle soap or mild detergent to the water and mix it until it forms a soapy solution.
- Dip a soft cloth or sponge into the soapy water and gently scrub the soles of the shoes in circular motions, paying extra attention to any stained or dirty areas.
- Continue scrubbing until the soles are clean and free from dirt and stains.
- Rinse the cloth or sponge under clean water and wring it out to remove excess soap.
- Use a damp cloth or sponge to wipe away any soap residue from the soles.
- Finally, pat the soles dry with a clean towel and let them air dry completely before wearing your shoes.
Cleaning the leather soles of your shoes requires a delicate approach to ensure that they remain in good condition. By following these two initial steps of removing debris and dirt and using gentle soap and water, you can effectively prepare the soles for a thorough cleaning process.
Step 2: Treating Stains And Spots
When it comes to caring for your leather soles, treating stains and spots is an essential step in maintaining their longevity and appearance. Different types of stains require targeted treatments to effectively remove them. In this step, we will discuss how to identify different types of stains on leather soles and the specific treatments for each.
Identifying Different Types Of Stains On Leather Soles
Before you can treat any stains or spots on your leather soles, it’s important to correctly identify the type of stain. This will help you use the most appropriate treatment method, ensuring the best possible results. Here are some common types of stains you may encounter:
- Oil stains: These can be caused by contact with grease, lotion, or even natural oils from your skin.
- Ink stains: Ink stains are usually caused by accidental spills or contact with pens or markers.
- Mud and dirt: These stains are common on leather soles, especially if you frequently walk on unpaved surfaces.
- Water stains: Water stains can occur when leather soles get wet and aren’t dried properly, leaving behind unsightly water marks.
By identifying the specific type of stain, you can tailor your treatment approach to effectively eliminate it.
Targeted Treatments For Specific Stains (Oil, Ink, Etc.)
| Stain Type | Treatment Method |
|---|---|
| Oil stains | 1. Blot the stain with a clean cloth to absorb any excess oil. 2. Sprinkle talcum powder or cornstarch on the stain and let it sit for several hours to absorb the remaining oil. 3. Gently brush off the powder and repeat if necessary. |
| Ink stains | 1. Dampen a cotton ball or cloth with rubbing alcohol. 2. Gently blot the stain without rubbing, to avoid spreading the ink. 3. Continue blotting until the ink stain fades or disappears. 4. Wipe the area with a damp cloth to remove any residual alcohol. |
| Mud and dirt | 1. Let the mud or dirt dry completely on the leather sole. 2. Use a soft brush or toothbrush to gently brush off the dried dirt. 3. Wipe the sole with a damp cloth to remove any remaining dirt. 4. Allow the sole to air dry before wearing the shoes again. |
| Water stains | 1. Dampen a cloth with lukewarm water. 2. Gently wipe the stained area, being careful not to saturate the leather. 3. Use a clean, dry cloth to blot away any excess moisture. 4. Allow the sole to air dry naturally, away from direct heat sources. |
By following these targeted treatments for specific stains, you can effectively remove stains and spots from your leather soles, keeping them looking clean and well-maintained.
Step 3: Deep Cleaning And Conditioning
Now that you have removed the surface dirt and grime from your leather soles using a soft brush, it’s time to give them a thorough deep cleaning. This step will not only help to eliminate any deep-seated stains but also ensure that your soles remain durable and supple for a longer period of time. Follow these simple techniques to successfully clean and condition your leather soles:
Applying A Specialized Leather Cleaner
To begin the deep cleaning process, it is important to choose a high-quality leather cleaner that is specially formulated for use on soles. These cleaners are designed to effectively remove tough stains and dirt without causing any damage to the delicate leather. Make sure to read and follow the instructions provided by the manufacturer for the best results.
When applying the leather cleaner, start by pouring a small amount onto a clean, soft cloth. Gently dab the cloth onto the leather sole, focusing on the areas with visible stains or discoloration. Remember to avoid using excessive pressure or rubbing vigorously as this can cause damage to the sole’s surface.
Work the cleaner into the leather using circular motions, paying close attention to the edges and seams. Rubbing the cleaner in small, controlled movements will help to lift the stubborn stains and embedded dirt effectively. Continue this process until you have covered the entire sole.
Using A Soft Cloth To Maintain The Sole’s Integrity
After using the leather cleaner, it is essential to remove any residual cleaner and dirt from the sole. This is where a clean, soft cloth comes in handy. Dampen the cloth with clean water and gently wipe the sole to remove any remaining cleaner or dirt particles.
Ensure that the cloth is not soaked or dripping wet, as this can damage the leather. Instead, wring out the cloth to remove excess water and use gentle, light strokes to wipe away the residue. Make sure to thoroughly dry the sole after this step to prevent any moisture from seeping into the leather, which can cause damage and discoloration over time.
By following these steps for deep cleaning and conditioning your leather soles, you can maintain their appearance and longevity. Regularly cleaning and conditioning your leather soles will not only keep them looking great but also ensure that they continue to provide the comfort and support you need for a long time to come.
Step 4: Drying And Finishing Touches
After cleaning the leather soles of your shoes, it is crucial to follow the proper drying and finishing steps. This will ensure that your shoes are not only clean but also well-conditioned and ready to keep you walking in style and comfort. In this step, we will discuss two important aspects: allowing the soles to air dry thoroughly and the importance of conditioning leather soles after cleaning.
Allowing The Soles To Air Dry Thoroughly
To begin, after cleaning the leather soles, it is essential to let them air dry thoroughly. This will allow any remaining moisture to evaporate completely, preventing it from seeping into the leather and potentially causing damage. Place your shoes in a well-ventilated area away from direct heat or sunlight, as excessive heat can cause the leather to warp or crack. Letting the soles dry naturally will ensure that they maintain their shape and integrity.
The Importance Of Conditioning Leather Soles After Cleaning
Once the leather soles are completely dry, it is crucial to condition them. Conditioning not only helps to restore moisture lost during the cleaning process but also keeps the leather soft, supple, and resistant to cracking. Leather soles, like any other type of leather, require regular conditioning to maintain their quality and extend their lifespan.
To condition the leather soles, start by applying a small amount of leather conditioner onto a soft cloth. Gently rub the conditioner onto the soles, covering the entire surface in a thin, even layer. This will help to replenish the natural oils of the leather, preventing it from drying out and becoming brittle over time. Allow the conditioner to be fully absorbed into the leather, leaving it nourished and protected.
Remember, conditioning leather soles should be done periodically, especially if your shoes are exposed to harsh elements or heavy use. A routine conditioning schedule will help to keep your leather soles in optimal condition and ready for your next adventure.
By following these simple steps, you can ensure that your leather soles remain clean, dry, and well-conditioned. This will not only enhance their appearance but also prolong their life, allowing you to enjoy your favorite pair of shoes for years to come.
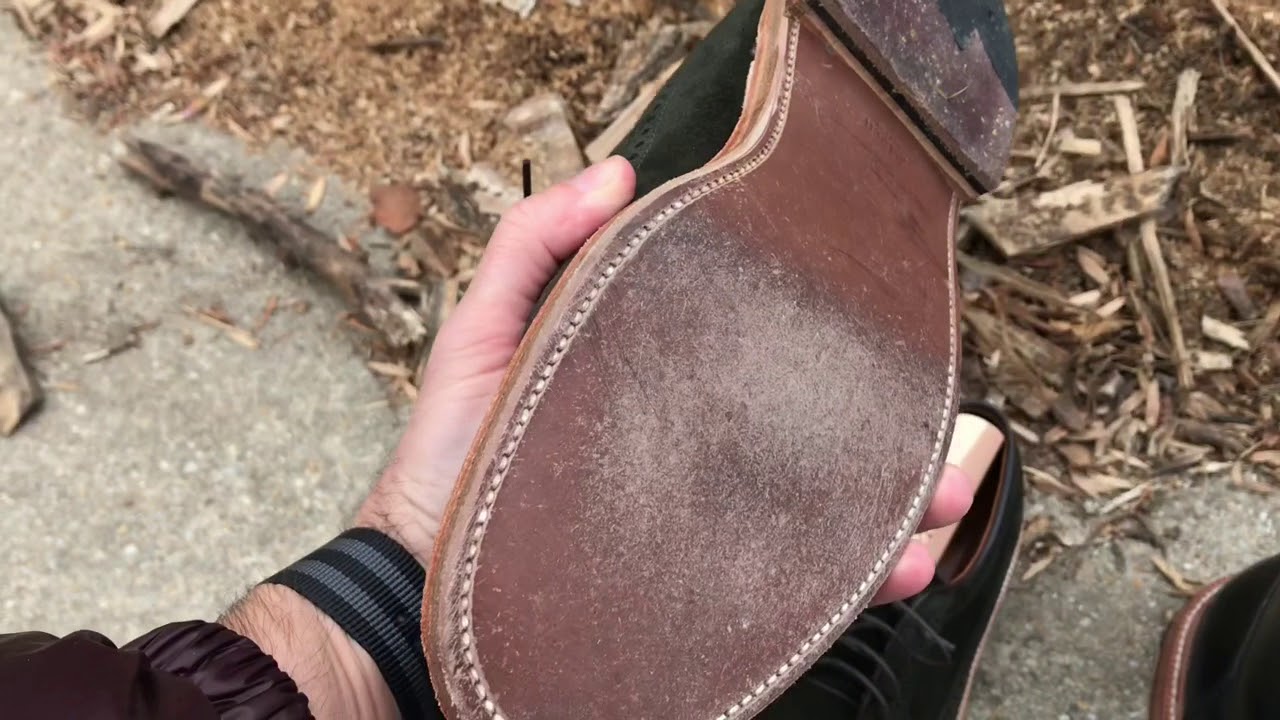
Credit: m.youtube.com
Frequently Asked Questions For How To Clean Leather Soles Of Shoes
How Do You Clean Dirty Leather Soles?
To clean dirty leather soles, gently wipe them with a damp cloth or sponge. Use a mild soap or leather cleaner if needed. Avoid immersing the soles in water or using harsh chemicals. Allow the soles to air dry naturally before wearing the shoes again.
How Do You Make Leather Soles Look New?
To make leather soles look new, clean them with a soft cloth and warm soapy water. Apply leather conditioner to moisturize and restore shine. Use a leather dye or polish to cover scratches and scuffs. Avoid water damage and maintain regularly for lasting results.
Can You Clean Leather Soles?
Yes, you can clean leather soles. Use a soft cloth and mild soap to gently wipe away dirt and stains. Allow them to air dry completely before wearing them again. Avoid soaking or submerging the soles in water, as this can damage the leather.
How Do You Deep Clean Shoe Soles?
To deep clean shoe soles, use warm water and a mild detergent. Scrub the soles gently with a brush or cloth, paying special attention to the grooves. Rinse off the soap with clean water and let the soles air dry.
Conclusion
Maintaining the cleanliness of your leather soles is crucial for prolonging the lifespan of your shoes. By following the simple steps outlined in this blog post, you can ensure that your leather soles remain in tip-top condition. Regularly brushing off dirt, using gentle cleaning solutions, and allowing proper drying time are essential for keeping your leather soles looking their best.
With these tips, you can preserve the beauty and functionality of your shoes for years to come.
As an Amazon Associate, Cleanestor earns from qualifying purchases at no additional cost to you.
