To clean headlight connectors, disconnect them first, then use a contact cleaner and a small brush. Ensure the connectors are dry before reassembling.
Cleaning headlight connectors might seem like a minor task, but it’s essential for maintaining your vehicle’s performance and safety. Over time, these connectors can accumulate grime and corrosion, which may lead to dim headlights or electrical failures. Regular maintenance keeps the electrical connection strong and your headlights functioning properly.
A well-executed cleaning process not only enhances visibility on the road but also extends the lifespan of your headlights. With safety as a priority, this simple procedure is a necessary aspect of your car care routine. Embracing a proactive approach to headlight maintenance, drivers can prevent larger issues down the line and ensure a safer driving experience.


Introduction To Headlight Connector Maintenance
Keeping headlight connectors clean is crucial to car safety. Dirt and corrosion hinder performance. Learn how to maintain these small but vital parts. This guide helps you get started.
Understanding the Importance of Clean Headlight Connectors
Clean connections ensure bright, reliable headlights. They help you see the road clearly at night. They make your car visible to others. Regular cleaning prevents problems and keeps connectors conducting electricity properly.
Symptoms Of Dirty Or Corroded Headlight Connectors
- Dim or flickering lights
- Headlights that won’t turn on
- Intermittent light functionality
Tackle these signs early to avoid safety risks. Keep your connectors in top shape to ensure you never get caught in the dark.
Preparing For The Cleaning Process
Cleaning your headlight connectors can revitalize your car’s appearance and improve visibility. Before diving in, it’s vital to prepare properly. A well-organized approach ensures safety and efficiency. Let’s set the stage for a successful clean-up.
Safety First: Disconnecting The Battery
Safety must be your top priority. Dealing with any vehicle’s electrical components requires caution. To kick off, you’ll want to disconnect the battery. This step is crucial to prevent any electrical shocks or short circuits. Follow these simple steps:
- Turn off your vehicle.
- Locate the car’s battery.
- Use a wrench to loosen the negative cable clamp.
- Remove the clamp from the battery post.
- Tuck the cable aside to avoid accidental contact.
Gathering The Necessary Tools And Materials
With the battery disconnected, gather your supplies. You’ll need:
- Wire brush or sandpaper
- Contact cleaner or isopropyl alcohol
- Protective gloves and safety glasses
- Cotton swabs for detailed cleaning
- Screwdrivers or pliers, if necessary
Having these tools within reach simplifies the process and ensures you’re adequately equipped to handle the task.
Locating And Accessing The Headlight Connectors
Now it’s time to locate the connectors. Typically found at the back of the headlight assembly, accessing these can vary by car model. Some general tips include:
- Open the hood and secure it with the hood prop.
- Remove any parts blocking the headlight assembly.
- Identify the headlight connector, usually with several wires leading into it.
- Depress the clip or turn the connector to release it from the housing.
Take note of the layout before detaching anything. This helps during reassembly.
Step-by-step Guide To Cleaning The Connectors
Clear vision at night or during poor weather conditions begins with well-maintained headlights. Over time, headlight connectors can become dirty or corroded. This step-by-step guide walks through cleaning those connectors so your lights stay bright and reliable.
Removing The Headlight Connector: Tips And Techniques
Preparation is key before starting with the removal:
- Turn off the engine and ensure the headlights are cool.
- Consult the vehicle manual to locate the headlight connectors.
- Use the right tools, typically a screwdriver or pliers, to gently disconnect the connectors.
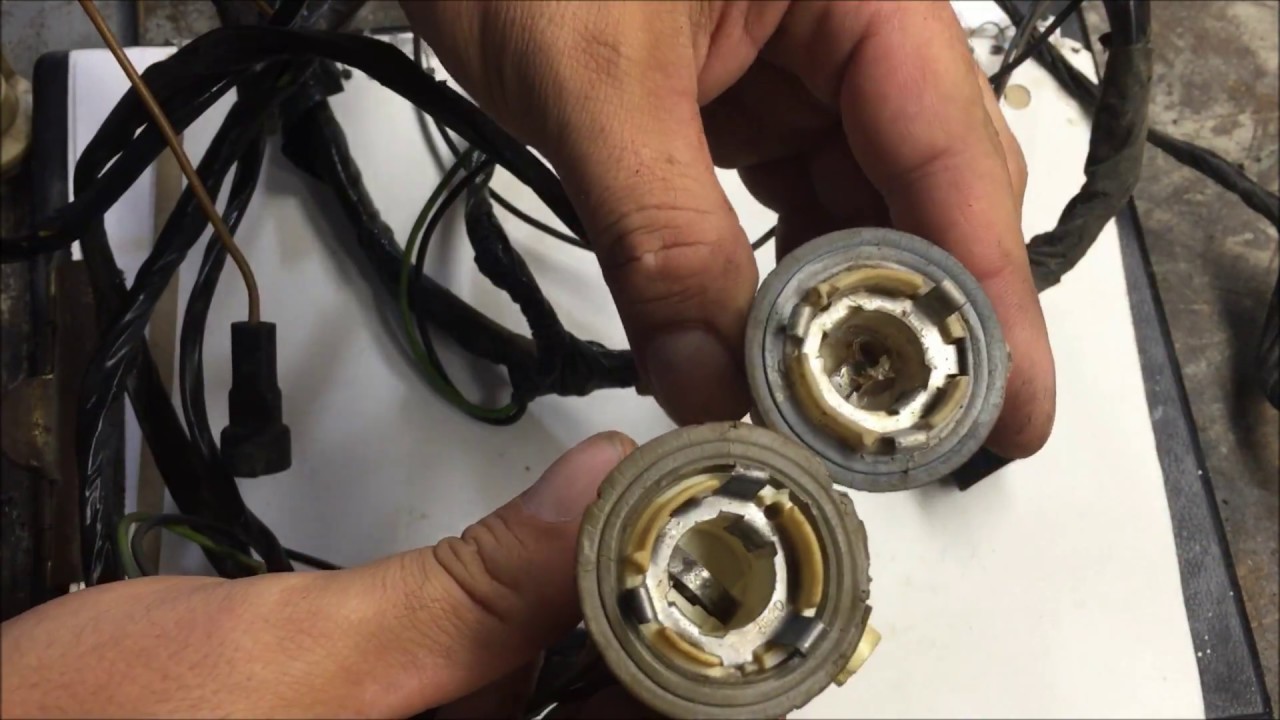
Inspecting The Connector For Damage
Look closely for any signs of damage such as:
- Melted plastic, which might require a replacement.
- Cracked housing that could let in moisture.
- Broken clips that might affect the connection stability.
Cleaning Techniques For Corrosion And Debris
Corrosion and debris compromise connections. Use these cleaning solutions:
- Alcohol wipes to remove grease and grime.
- A small wire brush to scrub away corrosion.
- Contact cleaner for any persistent residue.
Always be gentle to avoid damaging the metal contacts.
Drying And Re-assembling The Connector
After cleaning, ensure everything is completely dry:
- Let the connector air dry or use compressed air.
- Verify no moisture is left before reassembly.
- Reconnect firmly to maintain a solid electrical connection.
Testing The Headlights Post-cleaning
Perform a final test to ensure success:
- Turn the headlights on.
- Check both the low and high beams.
- Observe for consistent, bright light output.
If the lights function as expected, the cleaning process is a success.

Credit: www.summitracing.com
Preventative Measures And Maintenance Tips
Headlight connectors are crucial for visibility on the road. Proper maintenance ensures they always perform at their best. Following simple preventative measures can keep these connectors in top condition. A well-maintained headlight connector not only improves road safety but can also save money on costly repairs. Dive into these tips for keeping your headlight connectors sparkling clean.
Regular Cleaning Schedules
Maintaining regular cleaning schedules is essential. Dirt and debris can cause poor connections. Follow these steps for effective cleaning:
- Turn off the vehicle and wait for the headlights to cool.
- Remove the headlight connector carefully.
- Use a dry cloth to wipe away loose dirt.
- Apply an electrical contact cleaner and let it dry.
- Reconnect the headlight, ensuring it’s secure.
Stick to a monthly cleaning schedule to prevent buildup.
Protective Coatings And Dielectric Grease Usage
Protective coatings can extend the life of headlight connectors. Dielectric grease keeps moisture out. It’s a good practice to:
- Apply a thin coating of dielectric grease on the connectors.
- Use anti-corrosion sprays on the surrounding areas.
These products create a barrier against corrosion and wear.
Recognizing When To Seek Professional Help
Some issues call for a professional’s touch. Look for these signs:
- Headlights flicker or won’t turn on.
- Visible corrosion that won’t clean off.
- Burnt or melted connectors.
If you spot these issues, visit a mechanic. They have the skills to fix complex problems safely.
Troubleshooting Common Issues After Cleaning
Headlight connectors are crucial for bright, reliable lighting on the road. After a thorough cleaning, you might still face challenges. Signs of trouble range from dim headlights to inconsistent functioning. This guide provides clear steps for addressing persistent problems post-cleaning.
Dealing With Persistent Connectivity Problems
Sometimes, dirt isn’t the only culprit; corrosion or damaged wires can cause poor connections. Here’s a step-by-step fix:
- Inspect the connector for obvious damage.
- Check for snug fitting and secure the connector if loose.
- Apply a dielectric grease to prevent future corrosion.
If issues persist, using a multimeter to test for electrical continuity is essential. A signal indicates healthy wires.
Understanding Electrical Issues Beyond The Connector
Problems might lie in the wiring harness or fuse box. The following points should be considered:
- Examine the fuse related to the headlight system.
- Trace the wiring for breaks or fraying.
- Seek professional help if the issue extends to complex electrical systems.
Poor ground connections often cause erratic headlight performance. Ensuring a clean, secure ground connection is vital.
When To Consider Replacing The Headlight Connector
If all else fails, connector replacement might be the best solution. Note these signs for replacement:
- Melted plastic at the connector site.
- Brittle or discolored wires.
- Consistent flickering despite other fixes.
| Issue | Action |
|---|---|
| Melted Connector | Replace Immediately |
| Brittle Wires | Professional Assessment |
| Flickering Lights | Consider Replacement |
Verified auto parts stores carry quality connectors. For safety, always disconnect the battery before attempting repairs.
Credit: m.youtube.com
Frequently Asked Questions On How To Clean Headlight Connectors
How Do You Clean Corroded Headlight Plugs?
Disconnect the headlight plug and inspect for corrosion. Use a wire brush to gently scrub off the corrosion. Apply electrical contact cleaner on the connectors, then dry thoroughly. Reconnect the plug ensuring a clean, secure fit. Regular maintenance prevents future corrosion.
How Do You Clean A Car Light Bulb Connection?
Turn off the vehicle and remove the bulb. Use alcohol wipes to clean the connection. Dry thoroughly before reconnecting.
How Do You Clean A Headlight Wiring Harness?
Begin by disconnecting the car battery. Remove the harness and dust it off with a dry cloth. Use an electrical contact cleaner spray on the connectors, scrubbing gently with a soft brush. Rinse with a clean cloth, dry thoroughly, and reconnect it to the headlight.
Why Does My Headlight Connector Look Burnt?
Your headlight connector may look burnt due to electrical overloading, a loose connection causing arcing, or wear and tear from heat cycles.
Conclusion
Restoring the clarity of your headlight connectors can greatly improve your vehicle’s lighting performance. Following the straightforward steps outlined will ensure safe and vivid headlights. Regular maintenance is key for lasting results. Remember, clean connectors contribute to optimal road visibility, enhancing your driving safety.
Drive bright, drive right.
As an Amazon Associate, Cleanestor earns from qualifying purchases at no additional cost to you.
