Clean your Dr. Brown Sterilizer by using mild, soapy water and a sponge for interiors. Rinse thoroughly, dry with a clean towel, and leave the lid open to air out.
Keeping baby gear sanitized is crucial for your little one’s health, and Dr. Brown’s Sterilizer makes this task simpler. This compact and efficient device uses steam to eliminate harmful germs and bacteria from baby bottles and accessories. The sterilizer is user-friendly and fits seamlessly into daily routines, providing peace of mind that your baby’s feeding tools are germ-free.
Proper maintenance of the sterilizer ensures it remains in good working order, extending its lifespan while safeguarding your child’s well-being. Cleaning the sterilizer regularly prevents mineral build-up from water and keeps it hygienic for every use, making it an indispensable tool for busy parents who value cleanliness and convenience.
Credit: m.youtube.com
Introduction To Dr. Brown Sterilizer
Keeping baby’s feeding gear clean is important. The Dr. Brown Sterilizer is a top choice for parents. It uses steam to kill germs on bottles and accessories.
Overview Of Dr. Brown’s Sterilizer Benefits
- Eliminates harmful bacteria: Ensures baby’s health and safety.
- Fast and efficient: Saves time with quick cycles.
- Easy to use: Simple design makes it user-friendly.
- Accommodates all Dr. Brown’s bottles: Fits various sizes and types.
- Durable: Built to last with frequent use.
Importance Of Regular Cleaning And Sterilization
Babies have weak immune systems. Regular sterilization is a must. It keeps feeding tools germ-free and protects your baby. Dr. Brown’s Sterilizer does this effectively.

Credit: www.reddit.com
Understanding Dr. Brown Sterilizer Components
Maintaining your Dr. Brown Sterilizer is crucial for ensuring baby’s bottles are clean and safe. Knowing the different parts and their functions helps you clean it effectively. Dive into the components, materials, and safety features to keep your sterilizer in top condition.
Key Parts Of The Sterilizer
Dr. Brown Sterilizer comes with several key parts:
- Lid: Seals the unit to retain steam.
- Tray: Holds bottles and accessories.
- Heating Plate: Generates the sterilizing steam.
- Measuring Cup: Ensures correct water amount.
- Accessory Tray: For smaller items like nipples and pacifiers.
These parts work together to sterilize baby bottles quickly and effectively.
Materials And Design Features
The sterilizer is made from durable plastic and stainless steel components. The design features include:
- BPA-free plastic for safety.
- A vent system to release steam safely.
- Easy-to-use interface for hassle-free operation.
These materials and design aspects ensure long-lasting durability and user-friendly operation.
Safety And Maintenance Specifications
For safety and longevity, follow these specifications:
- Use distilled water to reduce mineral buildup.
- Clean the heating plate regularly to avoid residue.
- Check for loose parts before use to prevent accidents.
- Let the sterilizer cool down before cleaning.
Proper maintenance ensures the sterilizer operates safely each time.
Step-by-step Cleaning Guide
Welcome to our step-by-step cleaning guide for your Dr. Brown Sterilizer. A clean sterilizer ensures your baby’s bottles are free of harmful germs and bacteria. With a few simple steps, you can maintain your sterilizer for safe, everyday use. Follow this straightforward guide to keep your sterilizer in pristine condition.
Preparation For Cleaning
Before you start, gather all necessary items:
- Dish soap
- Soft-bristle brush or sponge
- Clean towel or drying rack
- Distilled white vinegar (for descaling)
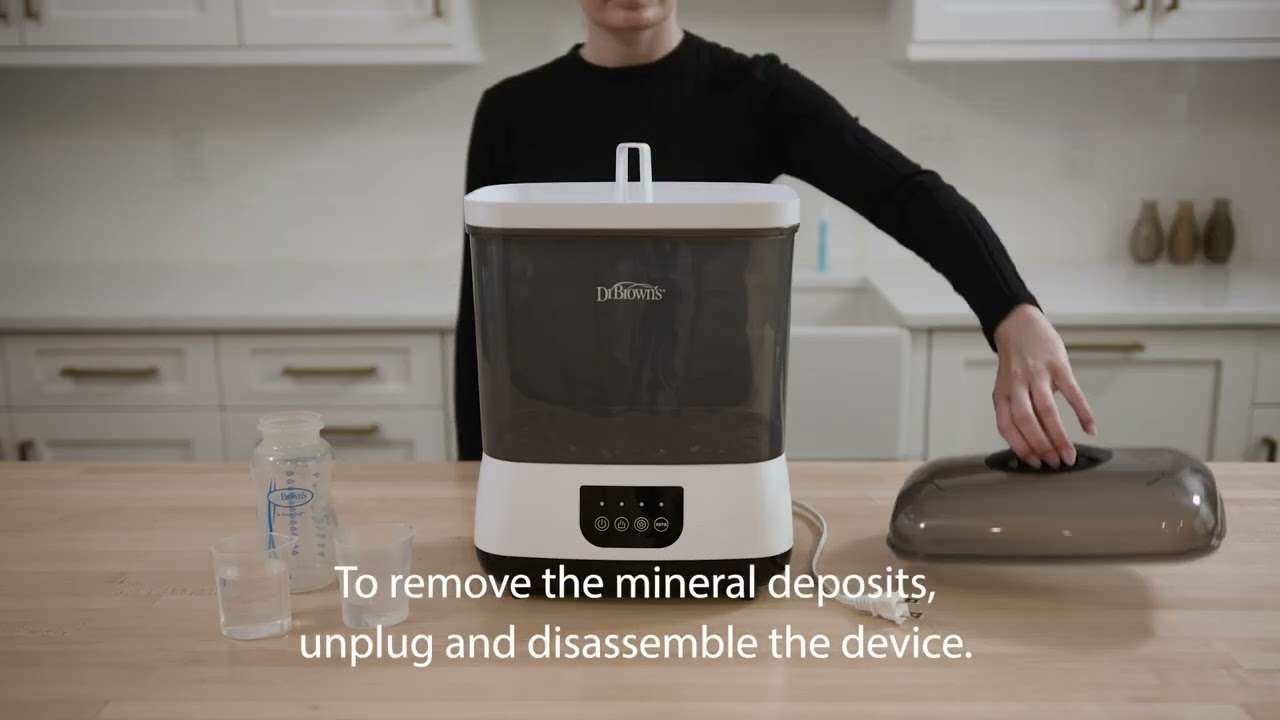
Turn off your sterilizer and unplug it from the power source. Ensure it is completely cool before handling.
Disassembling The Sterilizer
Disassemble all parts carefully:
- Remove the lid.
- Take out the accessory tray.
- Extract the bottle rack.
Check for any removable elements that may also need cleaning.
Cleaning Each Component
Clean each part thoroughly:
| Component | Cleaning Method |
|---|---|
| Main Unit | Wipe with a damp cloth; avoid submerging in water. |
| Accessory Tray & Bottle Rack | Use soapy water and a brush; rinse well. |
| Lid & Small Parts | Soak in warm soapy water; scrub gently. |
Leave components to air-dry on a towel or drying rack.
Natural Cleaning Agents Vs. Chemical Solutions
Select between natural and chemical cleaners:
- Natural: Vinegar solution (equal parts water and vinegar) for descaling.
- Chemical: Manufacturer-recommended solutions for targeted cleaning.
Remember to rinse all parts thoroughly after using any cleaning agents.
Sterilizing Dr. Brown’s Products
Keeping your baby healthy and safe involves meticulously cleaning and sterilizing their bottles. Dr. Brown’s sterilizer offers a straightforward way to ensure all feeding products remain germ-free. Let’s explore how to use this device correctly for the best results.
Correct Placement Of Bottles And Accessories
Effective sterilization starts with proper arrangement inside the unit.
- Always remove bottle parts for individual cleaning.
- Position bottles with openings facing downward.
- Place smaller components in designated areas.
This guarantees steam reaches every nook, keeping bottles ready for your baby.
Using The Sterilizer’s Standard Cycle
Dr. Brown’s sterilizer cleans with pressurized steam. Here’s a simple guide:
- Fill the base with the recommended amount of water.
- Load the sterilizer with prewashed items.
- Secure the lid and press the start button.
The cycle runs automatically and shuts off when done.
When To Perform Deep Sterilization
Routine cleaning is crucial, but deep sterilization kicks it up a notch.
| Frequency | Reason |
|---|---|
| Once a Week | Regular Maintenance |
| After Illness | To Prevent Reinfection |
| Every Use | If Baby is Newborn or Immunocompromised |
Follow your sterilizer’s instructions for deep cleaning cycles.
Maintaining Your Sterilizer For Longevity
Cleanliness is key when using Dr. Brown’s sterilizer. Keeping it in top shape ensures your baby’s health and the device’s longevity. With regular care, the sterilizer will continue to protect your baby from germs efficiently. Let’s explore how to maintain your sterilizer for long-lasting use.
Routine Maintenance Tips
Regular upkeep prevents buildup and prolongs your sterilizer’s life. Follow these simple steps:
- Empty after use: Always empty the sterilizer. Let it cool down first.
- Wipe it down: Use a clean cloth. Wipe the inside and outside.
- Descale regularly: Use a vinegar-water solution every few weeks. This removes calcium deposits.
- Air dry: Leave the sterilizer open. Let it air dry completely.
Addressing Common Issues
Here’s how to fix common problems with Dr. Brown’s sterilizer:
- Odors: Use a mixture of water and baking soda to soak the parts. Rinse them well.
- Residue: A white vinegar soak can dissolve residue. Rinse the parts after soaking.
- Leaks: Check the seals and gaskets. Replace them if they’re worn.
Replacement And When To Buy A New Sterilizer
It’s crucial to know when to replace parts or the entire sterilizer:
- Check the parts: Inspect for damage every month.
- Follow the manual: The manufacturer’s guide tells you when to replace parts.
- Performance issues: If the sterilizer isn’t working as before, consider buying a new one.
Frequently Asked Questions For How To Clean Dr. Brown Sterilizer
How Do You Clean Dr Brown’s Steriliser?
To clean Dr. Brown’s sterilizer, first, unplug it and let it cool. Empty any remaining water, then wipe the unit with a damp cloth and mild detergent. Rinse thoroughly with water, and leave the sterilizer open to air dry. Regular descaling with vinegar is recommended for optimal performance.
How Do You Clean The Bottom Of A Sterilizer?
Turn off and unplug the sterilizer. Remove any debris with a soft brush. Clean the bottom tray with a mild detergent, rinse thoroughly, and dry. Regular maintenance keeps the sterilizer effective and safe. Follow the manufacturer’s specific instructions for best results.
How Do I Descale My Bottle Sterilizer?
To descale your bottle sterilizer, mix equal parts water and white vinegar. Fill the sterilizer with this solution and run a complete cycle. Afterwards, empty the sterilizer and rinse it thoroughly with clean water to eliminate any vinegar residue.
How Do You Clean A Baby Bottle Sterilizer With Vinegar?
Fill the bottle sterilizer with equal parts water and white vinegar. Run a standard sterilization cycle, then empty and rinse the unit thoroughly with clean water. Dry the sterilizer completely before next use.
Conclusion
Keeping your Dr. Brown Sterilizer impeccably clean ensures your baby’s health and safety. By following the simple steps outlined, you’ll safeguard against germs with minimized effort. Embrace the peace of mind that comes with knowing your sterilization process is effective and thorough. Remember, a clean sterilizer is the foundation of a happy, healthy baby.
As an Amazon Associate, Cleanestor earns from qualifying purchases at no additional cost to you.
