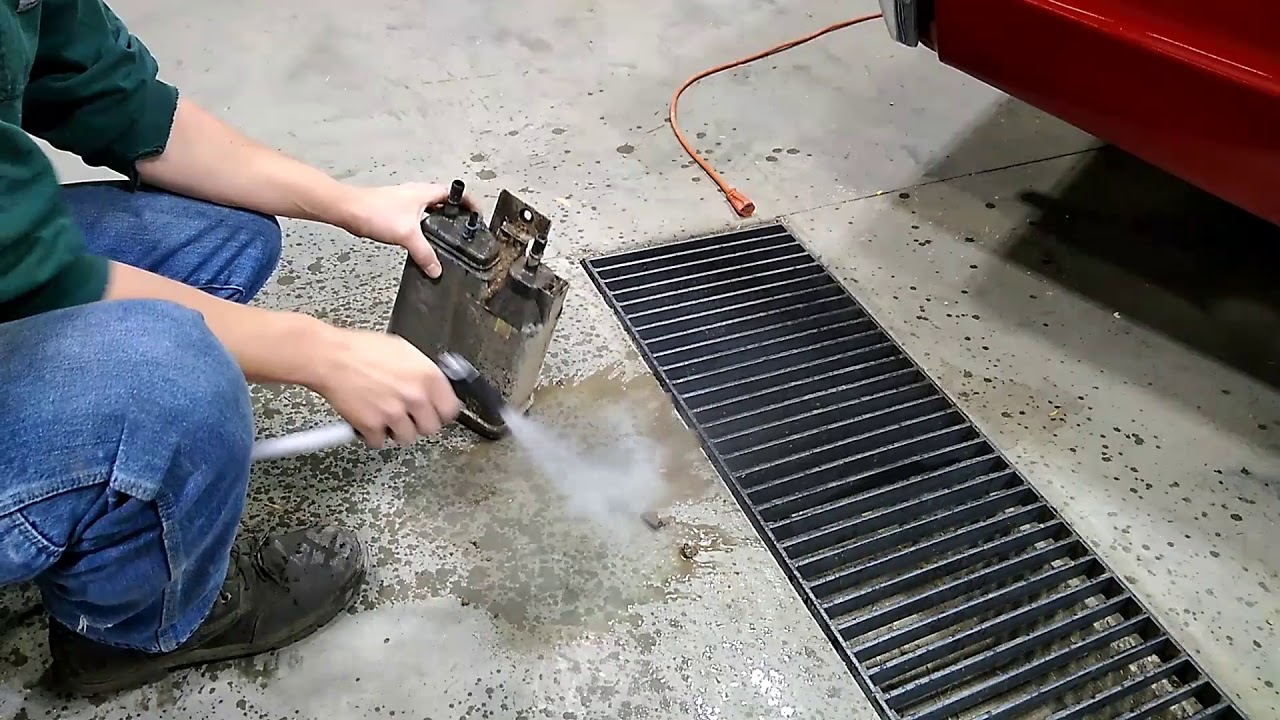
Clean a vapor canister by removing it from the vehicle and blowing compressed air through it. Ensure no contaminants remain by rinsing it with a solvent if necessary.
A vapor canister, or charcoal canister, is crucial to your vehicle’s evaporative emission control (EVAP) system. It traps and contains fuel vapors to prevent their release into the atmosphere, aiding in pollution reduction. Over time, this canister can become clogged with dust, dirt, or even fuel.
A clogged canister may lead to issues like fuel odors, increased emissions, or a decrease in engine performance. Keeping this component clean is essential for maintaining your car’s efficiency and compliance with emissions standards. Regular maintenance and cleaning can extend the life of your vapor canister and keep your vehicle running smoothly. This guide will walk you through the steps to effectively clean your vapor canister and enhance your car’s overall health.

Credit: m.youtube.com


Introduction To Vapor Canisters
Your car’s vapor canister might not be something you think about often. But it plays a big role in reducing emissions and keeping your vehicle running smoothly. This small container catches gasoline vapors before they escape into the air. In other words, it’s an eco-friendly part of your car.
Understanding The Function Of A Vapor Canister
The vapor canister, also known as a charcoal canister, serves a simple yet critical purpose. It acts as a storage unit for fuel vapors. Your car doesn’t always burn all the fuel. The leftover gasoline turns into vapor, and that’s where the canister comes in.
It uses activated charcoal to absorb and store these vapors. When you start the engine, the car uses them for combustion. This makes your ride more efficient and earth-friendly.
Signs Of A Clogged Or Dirty Vapor Canister
Like any other car part, the vapor canister can get dirty. Over time, it might even clog. When this happens, you’ll notice a few telltale signs:
- Check Engine Light: This might turn on if the canister isn’t working right.
- Fuel Smell: If you smell gasoline even when your car is off, the canister may be to blame.
- Dropping Fuel Economy: A clogged canister can cut down on your miles per gallon.
- Difficulty Starting: You might find your car harder to start. Stored fuel vapors aren’t being used properly.
These signs mean it’s time to check and clean your canister. Regular maintenance is key to keep your car happy and healthy!
Credit: m.youtube.com
Preparation For Cleaning
Ready to restore your vapor canister’s performance? A clean canister ensures that your vehicle runs efficiently. Proper preparation is key to a successful cleaning process. Gear up with the right tools and safety measures for a smooth operation. Let’s prepare for this essential maintenance task.
Gathering The Necessary Tools And Materials
Equip yourself with essential items before you begin. Here’s what you need:
- Car manual (for specific instructions)
- Wrench set (to remove canister)
- Carburetor or brake cleaner (for cleaning)
- Compressed air (to blow out debris)
- Gloves and goggles (for protection)
- Clean rags (for wiping)
Safety Precautions And Preparatory Steps
Safety comes first. Take these steps to ensure a safe cleaning process:
- Wear gloves and goggles to protect your skin and eyes.
- Disconnect the vehicle’s battery to prevent electric shocks.
- Refer to the car manual to locate and access the vapor canister safely.
- Ensure adequate ventilation; work outdoors or in a well-ventilated garage.
- Keep a fire extinguisher nearby, just to be on the safe side.
Cleaning a vapor canister might seem daunting, but with the right preparation, you can do it effortlessly. Gather these items, follow safety protocols, and you’re set for a successful cleaning job.
Step-by-step Cleaning Process
Keeping your car’s vapor canister clean is vital for performance and emissions. The canister captures and stores fuel vapors, preventing them from entering the atmosphere. Let’s roll up our sleeves and get started with the process!
Removing The Vapor Canister From The Vehicle
First things first, locate the vapor canister. It’s usually found near the fuel tank. Disconnect the battery to avoid any electrical hazards. Next, remove the hoses and electrical connectors connected to the canister. Lastly, unscrew the mounting bolts and take out the canister.
Inspecting And Emptying The Canister
Take a good look at the canister. Be on the lookout for cracks or damage. Once it’s deemed safe, shake out any debris over a waste bin. Emptying the canister is crucial before the washing.
Choosing The Appropriate Cleaning Solvent
Pick a cleaner that’s safe for your canister. Avoid harsh chemicals that can damage the canister or your car’s system. An automotive parts cleaner usually does the trick.
Soaking And Scrubbing The Components
Submerge the canister parts in the cleaner. Let them soak for the time specified on the cleaner label. After soaking, use a brush to scrub away any remaining gunk.
Rinsing And Drying The Canister
After scrubbing, rinse the parts with water. Make sure all the cleaning solvent is washed off. Before you think of reassembling, air dry the canister completely. Moisture can cause problems if it’s reinstalled wet.
Reassembling And Reinstalling The Vapor Canister
With every component dry, put the canister back together. Ensure all parts fit as they should. Time to mount the canister back into its place. Reattach all bolts, hoses, and connectors. Lastly, reconnect the battery. You’re now set for a cleaner ride!
Post-cleaning Checks And Maintenance Tips
After a thorough cleaning of the vapor canister, taking the right steps will ensure it functions as intended. Let’s dive into post-cleaning checks and actionable maintenance tips that guarantee your canister remains in top shape.
Testing The Vapor Canister For Proper Functionality
To test your vapor canister, reconnect it to your vehicle’s system. Start your car and let it run.
- Listen for irregular sounds.
- Watch the engine’s performance for stalling or rough idling.
- Use a diagnostic tool to check for error codes.
If problems arise, inspect connections. They might be loose or improperly sealed.
Preventive Measures To Keep The Canister Clean
- Regularly check the canister for signs of damage.
- Avoid overfilling your fuel tank. It can send fuel into the canister.
- Replace the canister’s filter as suggested by your vehicle’s manual.
- Keep your car in a cool, shaded place to reduce vapor pressure build-up.
When To Seek Professional Help
Seek an expert when you notice the following:
| Issue | Why Professional Help? |
| Frequent error codes | Could indicate deep-set problems |
| Fuel smells after cleaning | Possible crack or leak within the system |
| Persistent poor engine performance | The canister might not be the only problem |
Mechanics have special tools and expertise to diagnose and fix such issues.
Frequently Asked Questions on How To Clean A Vapor Canister
Can an Evap Canister Be Cleaned?
Yes, an EVAP canister can be cleaned, but it’s often more effective to replace it if it’s extensively clogged or damaged.
How Do I Know If My Vapor Canister Is Clogged?
Signs of a clogged vapor canister include difficulty starting, poor fuel economy, and a Check Engine light. A mechanic can diagnose and confirm blockages.
Can A Canister Purge Valve Be Cleaned?
Yes, a canister purge valve can often be cleaned. It involves removing the valve and using a specific cleaner, but replacement is recommended if cleaning doesn’t resolve the issue.
Can A Vapor Canister Go Bad?
Yes, a vapor canister can fail due to cracks, clogs, or damage, affecting the vehicle’s emissions system and fuel efficiency.
Conclusion
Maintaining your vapor canister is vital for vehicle health and emissions control. This guide simplifies the process, ensuring a clean system. Embrace regular maintenance to avoid costly repairs and keep your ride running smoothly. Remember, a well-cared-for canister is key to a cleaner, greener drive.
As an Amazon Associate, Cleanestor earns from qualifying purchases at no additional cost to you.
