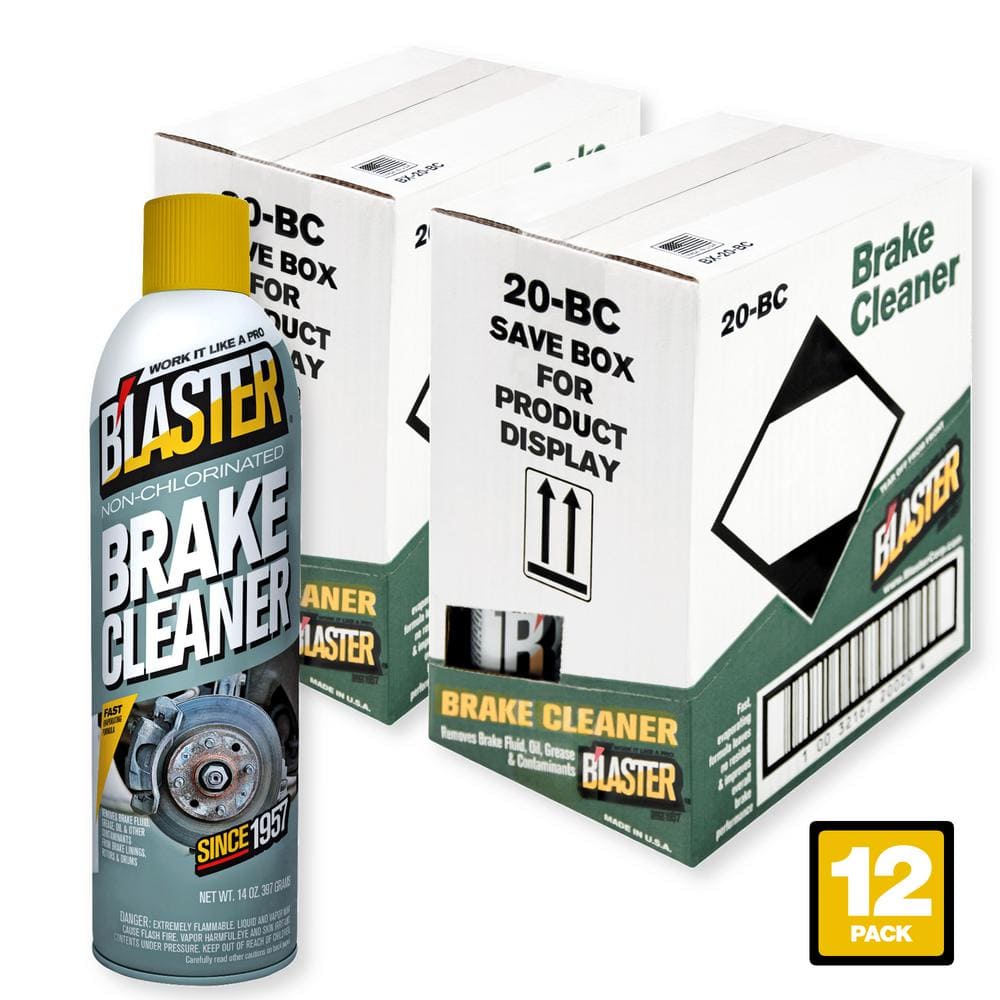
DIY brake cleaner is an effective solution for removing brake dust and grime. It ensures optimal braking performance and safety.
Brake maintenance is crucial for vehicle safety, and using a DIY brake cleaner can play a key role in this routine upkeep. An effective brake cleaner helps to dissolve and eliminate contaminants like oil, dirt, and brake fluid from brake parts, helping to prevent brake squeal and potential malfunctions.
For vehicle owners, understanding how to select and use the right brake cleaner is essential for both cost savings and maintaining the integrity of their braking system. Simple to apply and typically requiring little equipment, a DIY brake cleaner is a must-have for any automotive enthusiast or hands-on vehicle owner. Ensuring your brakes are clean not only contributes to the longevity of brake components but also supports overall vehicle performance and safety on the road.
Introduction To DIY Brake Cleaning
Introduction to DIY Brake Cleaning is your ultimate guide to maintaining optimal brake performance. Brakes are crucial for safety. Cleaning them properly adds to their longevity and keeps your vehicle in top-notch condition. Whether you’re a seasoned mechanic or a curious car owner, learning the basics of DIY brake maintenance can save you time and money.
Understanding Brake Components And Their Function
Brakes are a complex system, essential for controlling your vehicle. They are made up of several key components:
- Brake Pads: They apply pressure to the brake rotors, slowing down your car.
- Brake Rotors: These discs rotate with the wheels and get squeezed by the brake pads.
- Calipers: These house the pads and press them against the rotors.
- Brake Lines: They carry brake fluid, enabling the entire braking process.
Each part must be clean and free from debris for optimal performance.
Importance Of Regular Brake Cleaning
Regular cleaning keeps your brakes responsive and effective. It prevents:
- Build-up of dirt and grime, which can lead to corrosion.
- Potential brake failure from clogged components.
- Uneven wear and tear, ensuring a longer lifespan for your brakes.
Clean brakes also mean quieter stops and better stopping power.
Overview Of Commercial Versus DIY Brake Cleaners
Selecting the right cleaner is essential for the task at hand:
| Commercial Cleaners | DIY Cleaners |
|---|---|
| Quick and convenient | Cost-effective and customizable |
| Specially formulated for brake parts | Use common household items |
| May contain harsh chemicals | Eco-friendly options available |
Evaluate your needs, preference between commercial or DIY solutions, and the results you desire to achieve.
Preparing To Clean Your Brakes
Maintaining your vehicle’s brakes is crucial for your safety. Regular cleaning also boosts performance. Here’s how you can prepare to clean your brakes efficiently and safely.
Gathering Essential Tools And Materials
Collect these tools before starting:
- Brake cleaner fluid
- Catch basin for fluid runoff
- Wheel lug wrench
- Jack and jack stands
- Rags or shop towels
- Wire brush
Make sure to have them all within reach to avoid any hassle during the process.
Safety Precautions and Protective Gear
Safety Precautions And Protective Gear
Your safety comes first:
- Wear safety glasses to protect your eyes.
- Gloves keep your hands free from chemicals.
- Work in a well-ventilated area to avoid fume inhalation.
Respecting these precautions prevents accidents and health risks.
Steps to Prepare Your Vehicle for Cleaning
Steps To Prepare Your Vehicle For Cleaning
- Park on a flat surface and engage the parking brake.
- Use the wheel lug wrench to loosen the lug nuts.
- With the jack, raise your vehicle and secure it on jack stands.
- Remove the wheels to expose the brake components.
This setup makes accessing the brakes much easier. Now, you’re all set to start the cleaning process.
Creating Your Own Brake Cleaner
Brake maintenance is crucial for vehicle safety. One key component of this process is using a brake cleaner. Ready-made solutions are available, but creating your own can save money and be just as effective. In this section, we’ll cover how to blend your DIY brake cleaner, from ingredients to storage tips.
Ingredients And Their Purposes
Before you mix, understand the role of each component:
- Isopropyl Alcohol: Cuts through grease and dirt.
- Distilled Water: Dilutes the alcohol for safe use.
- White Vinegar: Acts against rust and buildup.
Steps To Mix Your DIY Brake Cleaner
- Gather Supplies: Obtain a clean spray bottle and funnel.
- Measure Ingredients: Use clear markings for correct ratios.
- Mix Together: Pour ingredients into the bottle using the funnel.
- Shake Well: Ensure the solution is mixed thoroughly.
Storage And Disposal Of Homemade Brake Cleaner
Store the DIY brake cleaner in a cool, dry place out of reach of children. When disposing of the mixture, never pour it down the drain. Check your local guidelines for the disposal of household chemicals.
| Ingredient | Purpose | Storage | Disposal |
|---|---|---|---|
| Isopropyl Alcohol | Cleanses | Room Temperature | Hazardous Waste Center |
| Distilled Water | Dilutes | Room Temperature | Safe to Drain |
| White Vinegar | Removes Rust | Room Temperature | Safe to Drain |

Credit: www.homedepot.com
The Cleaning Process
Keeping brakes clean is crucial for safety. Grimy brakes can lead to poor performance. A DIY brake cleaner helps remove dirt, grease, and brake dust effortlessly. This section dives into the cleaning process, ensuring your brakes function optimally. Let’s roll up those sleeves and begin the journey towards pristine brake parts.
Step-by-step Guide To Cleaning Brake Components
Efficient cleaning starts with a clear plan and the right tools.
- Park your vehicle on a flat surface and make sure it is secure.
- Remove the wheel to expose the brake components.
- Apply a generous amount of brake cleaner on each part.
- Let the cleaner soak for a few minutes.
- Use a brush to scrub off stubborn grime.
- Wipe clean with a rag, repeating if necessary.
- Reassemble everything once fully dry.
Troubleshooting Common Issues During Cleaning
Encountering hiccups is normal during DIY endeavours.
- Sticky Residue: Reapply cleaner and scrub again.
- Corrosion: Consider a specialized formula for rust.
- Inaccessible Dirt: Use a detailing brush for hard-to-reach spots.
- Health Concerns: Always wear a mask and gloves for safety.
Tips For Ensuring A Thorough Clean
A complete clean maintains brake efficiency.
- Inspect: Always examine all components closely.
- Top-Grade Cleaner: Opt for high-quality brake cleaners.
- Regular Maintenance: Clean brakes during routine service.
- Patient Approach: Rushing might mean missing some dirt.
After The Cleanup: Maintenance Tips
After the Cleanup: Maintenance Tips ensure your brakes remain
in top shape. Following a thorough DIY brake cleaning, proper maintenance is crucial.
It avoids future buildup and ensures safety on the road. Dive into post-cleaning care and learn how to keep brakes performing well.
Post-cleaning Brake Inspection
Always inspect your brakes after cleaning. Check for these:
- Brake pads: Look for even wear and adequate thickness.
- Rotors: They should be smooth without deep grooves or scoring.
- Brake lines: Search for any signs of leaks or damage.
- Hardware: Confirm all parts are secure and in place.
Frequency Of Brake Cleaning And Maintenance
Consistent cleaning and maintenance extend brake life. Follow this frequency:
| Brake Usage | Cleaning Frequency |
|---|---|
| Normal driving | Every 6 months or 6,000 miles |
| Harsh conditions | Every 3 months or 3,000 miles |
Adjust the schedule based on driving habits and environment.
Signs That Indicate The Need For Professional Brake Service
Watch out for these signs:
- Squealing or grinding noises when braking.
- Soft brake pedal feels spongy or sinks to the floor.
- Pulsating brake pedal during normal braking.
- Vehicle pulls to one side when braking.
- Warning lights. Brake system alert on your dashboard.
These issues signal that it’s time for professional service.

Credit: www.homedepot.com
Advantages And Considerations Of DIY Brake Cleaners
The ‘Advantages and Considerations of DIY Brake Cleaners’ reflect the growing trend of car enthusiasts taking maintenance into their own hands. Creating a homemade brake cleaner can offer tangible benefits, with some important factors to take into account. Understand the balance to ensure both safety and efficacy in car care routines.
Benefits Of Using Homemade Brake Cleaners
- Cost-Effective: Save money compared to purchasing commercial brake cleaners.
- Eco-Friendly: Control the substances used, lessening environmental impact.
- Convenience: Make as needed with household ingredients.
- Customization: Tailor the mixture to address specific cleaning needs.
Potential Drawbacks And How To Mitigate Them
| Potential Drawback | Mitigation Strategy |
|---|---|
| Effectiveness: May not be as strong as commercial cleaners. | Test different formulas to find a strong solution. |
| Safety: Risk of creating a harmful chemical mix. | Wear protective gear; follow safe mixing practices. |
| Consistency: Variability in mixture outcomes. | Keep precise measurements for reproducibility. |
Comparative Analysis: DIY Vs. Store-bought Cleaners
Understanding the key points of comparison can guide decisions in brake maintenance:
- Ingredients: DIY cleaners utilize common items.
- Performance: Commercial products often have potent formulas.
- Cost: Homemade alternatives can significantly reduce expenses.
- Environment: DIY options are generally more eco-friendly.
- Accessibility: Necessity can drive the convenience of DIY solutions.
Frequently Asked Questions Of DIY Brake Cleaner 101
What Is A Good Substitute For Brake Cleaner?
A suitable substitute for brake cleaner is isopropyl alcohol, which effectively removes grease and residue without leaving a film. Acetone can also be used, but it should be applied carefully due to its strong solvent properties. Always wear safety gear when using chemicals.
Can I Use WD-40 Instead Of Brake Cleaner?
No, WD-40 is not a substitute for brake cleaner. Brake cleaner evaporates without residue, while WD-40 can leave an oily film, potentially impairing brake function.
Is Brake Cleaner The Same As Acetone?
No, brake cleaner is not the same as acetone. These are distinct chemicals with different formulations and uses. While acetone can be a component in some brake cleaners, brake cleaner usually contains a variety of other chemicals for cleaning brakes specifically.
What Chemical Is In Brake Cleaner?
Brake cleaner typically contains tetrachloroethylene, acetone, methanol, or isopropanol. These chemicals dissolve grease and brake dust effectively.
Conclusion
Crafting your own brake cleaner is both rewarding and cost-effective. With the right ingredients and a bit of know-how, you can maintain your brakes flawlessly. Always prioritize your safety by following guidelines and using proper equipment. Embrace the DIY spirit and enjoy the satisfaction of a job well done.
Keep rolling smoothly and safely!
As an Amazon Associate, Cleanestor earns from qualifying purchases at no additional cost to you.